
In the heart of the Mediterranean, the aroma of freshly baked bread has long been a beloved and integral part of the Greek culinary experience. From the rustic, crusty loaves that grace the tables of family gatherings to the soft, pillowy rolls that accompany traditional dishes, Alltin show you the art of Greek bread-making has been passed down through generations, each recipe imbued with the rich cultural heritage of the region.
How to make greek bread rolls: The Best Recipes for you
As the world becomes increasingly connected, the allure of these traditional Greek bread rolls has captured the imagination of home bakers and foodies alike. The challenge, however, lies in replicating the authentic flavors and textures that have made Greek bread a staple in kitchens worldwide. Fear not, for with a few key techniques and the right ingredients, you too can unlock the secrets to crafting your own delectable Greek bread rolls in the comfort of your own kitchen.
Mastering the Dough: The Foundation of Greatness
The foundation of any exceptional Greek bread roll lies in the dough, and the success of your baking endeavor hinges on your ability to handle and knead this crucial element with care and precision. Begin by assembling your ingredients: all-purpose flour, yeast, warm water, olive oil, and a pinch of salt. The ratio of these components will determine the final texture and flavor of your rolls.
When it comes to the yeast, opt for a high-quality, active dry variety to ensure a reliable rise and a light, airy crumb. As you incorporate the yeast into the warm water, be mindful of the temperature – too hot and you risk killing the yeast, too cool and the fermentation process will be sluggish. Once the yeast has proofed and begun to bubble, you can confidently move on to the next step.
Gently fold the flour and salt into the yeast mixture, taking care to avoid over-kneading. The dough should come together into a soft, slightly sticky ball, ready to be kneaded by hand or in a stand mixer equipped with a dough hook attachment. Knead the dough for approximately 10 minutes, until it becomes smooth, elastic, and a pleasure to touch.
The next crucial step is the proofing stage. Transfer the dough to a lightly oiled bowl, cover it with a damp towel or plastic wrap, and allow it to rise in a warm, draft-free environment for about an hour, or until it has doubled in size. This patient waiting period is essential, as it allows the yeast to work its magic, developing the flavor and creating the perfect foundation for your Greek bread rolls.
Shaping the Rolls: Mastering the Technique
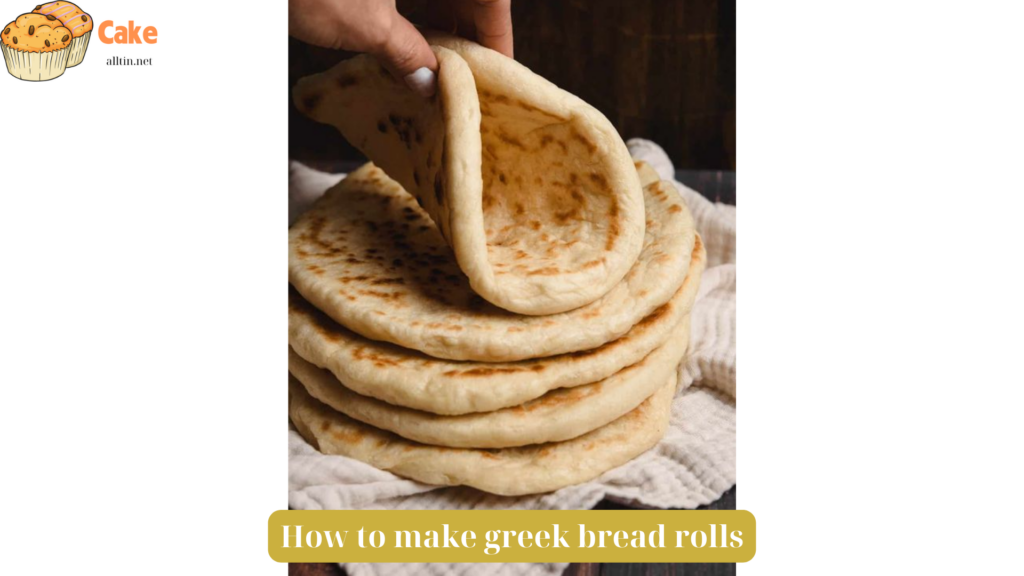
Once your dough has successfully proofed, it’s time to bring it to life in the form of those irresistible Greek bread rolls. Begin by gently punching down the dough to release any trapped air bubbles, then divide it into equal portions, typically around 90-100 grams each.
The traditional shaping method for Greek bread rolls involves a technique known as “koulouria,” or the formation of a circular, twisted shape. To achieve this, take each portion of dough and roll it into a smooth, even ball. Then, using your palms, roll the ball back and forth to create a cylindrical shape.
Next, pick up the cylinder and gently twist it around your index finger, overlapping the ends to form a circular, braided pattern. Pinch the ends together to secure the shape, and voila – you’ve created a classic Greek bread roll, ready to be proofed and baked to perfection.
If the koulouria technique seems a bit daunting at first, don’t worry. You can also opt for a simpler approach by simply rolling the dough portions into smooth, round balls and placing them on a parchment-lined baking sheet. The resulting rolls may not have the traditional twisted appearance, but they will still deliver the same irresistible flavors.
Baking to Perfection: The Final Step
With your perfectly shaped Greek bread rolls ready to go, it’s time to turn up the heat and transform them into a golden, crusty masterpiece. Preheat your oven to a toasty 400°F (200°C), ensuring that your baking surface is preheated as well, whether it’s a baking sheet or a pizza stone.
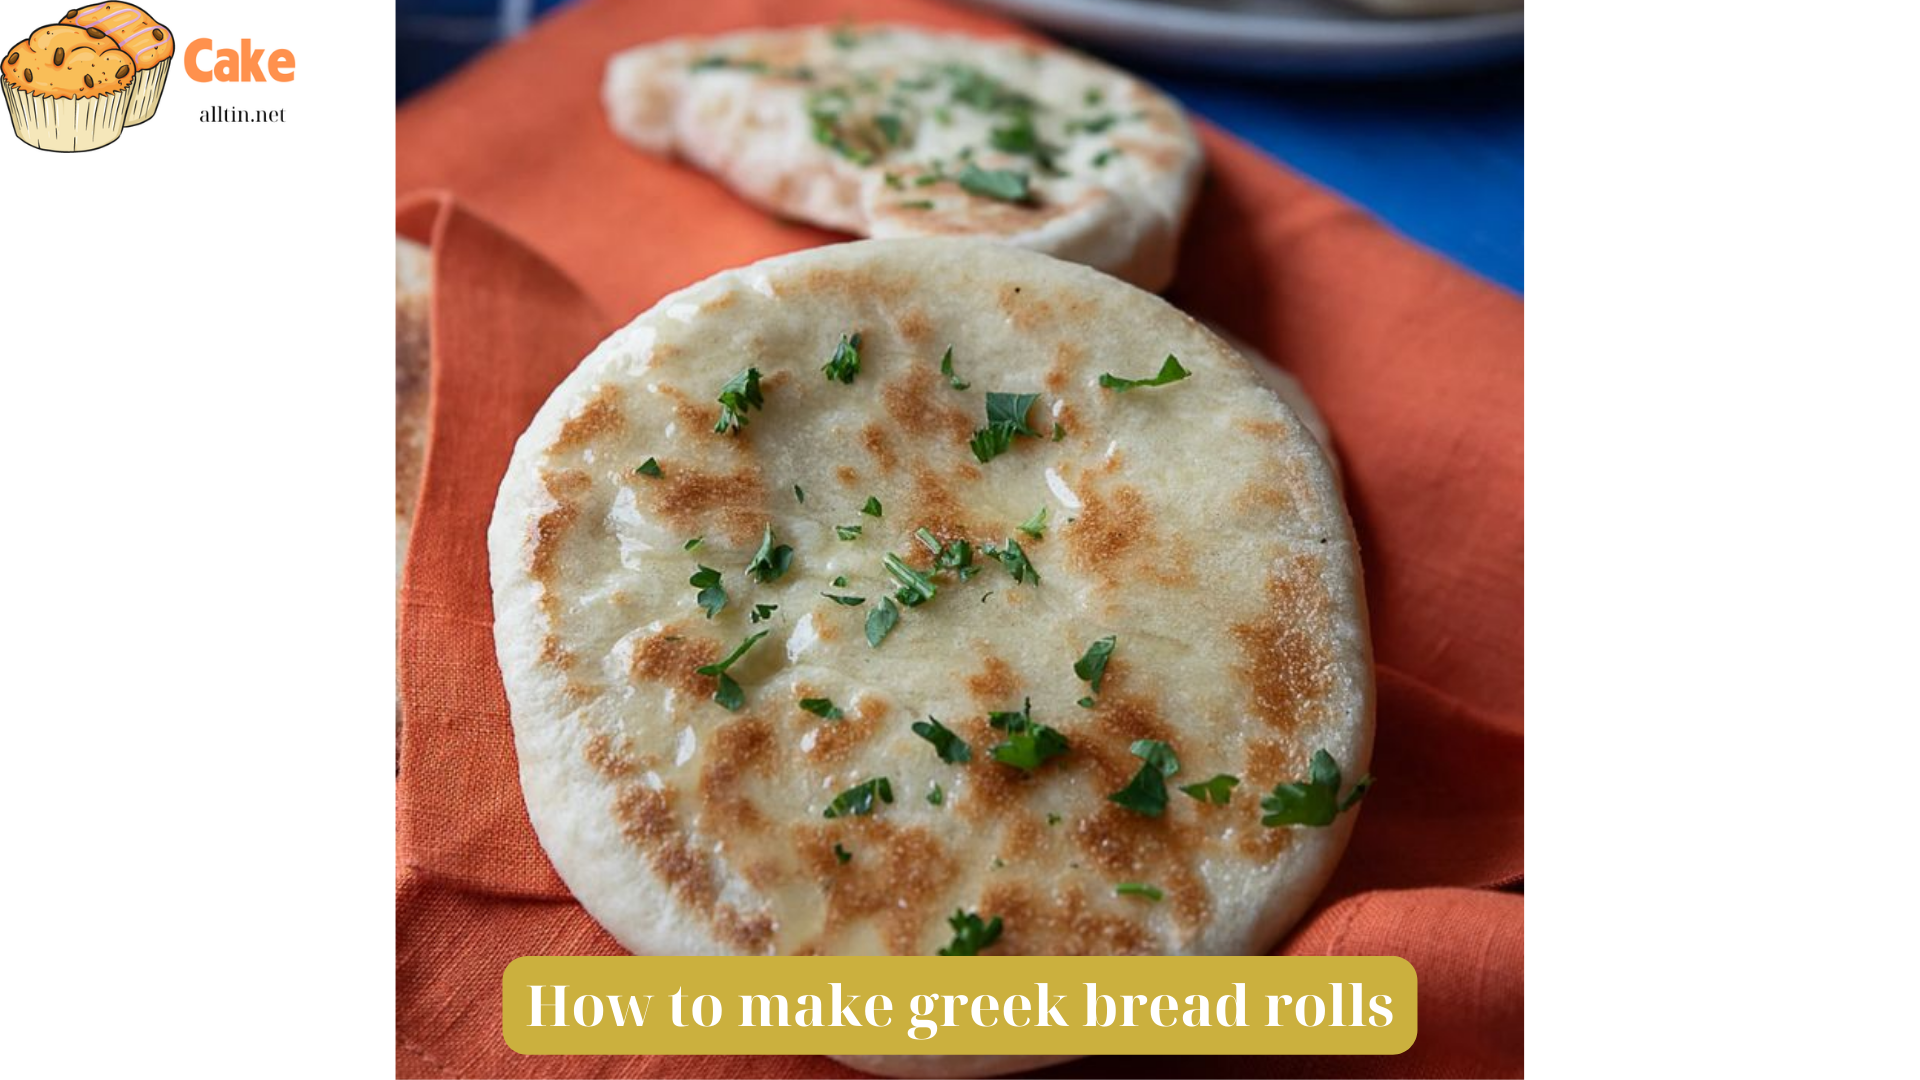
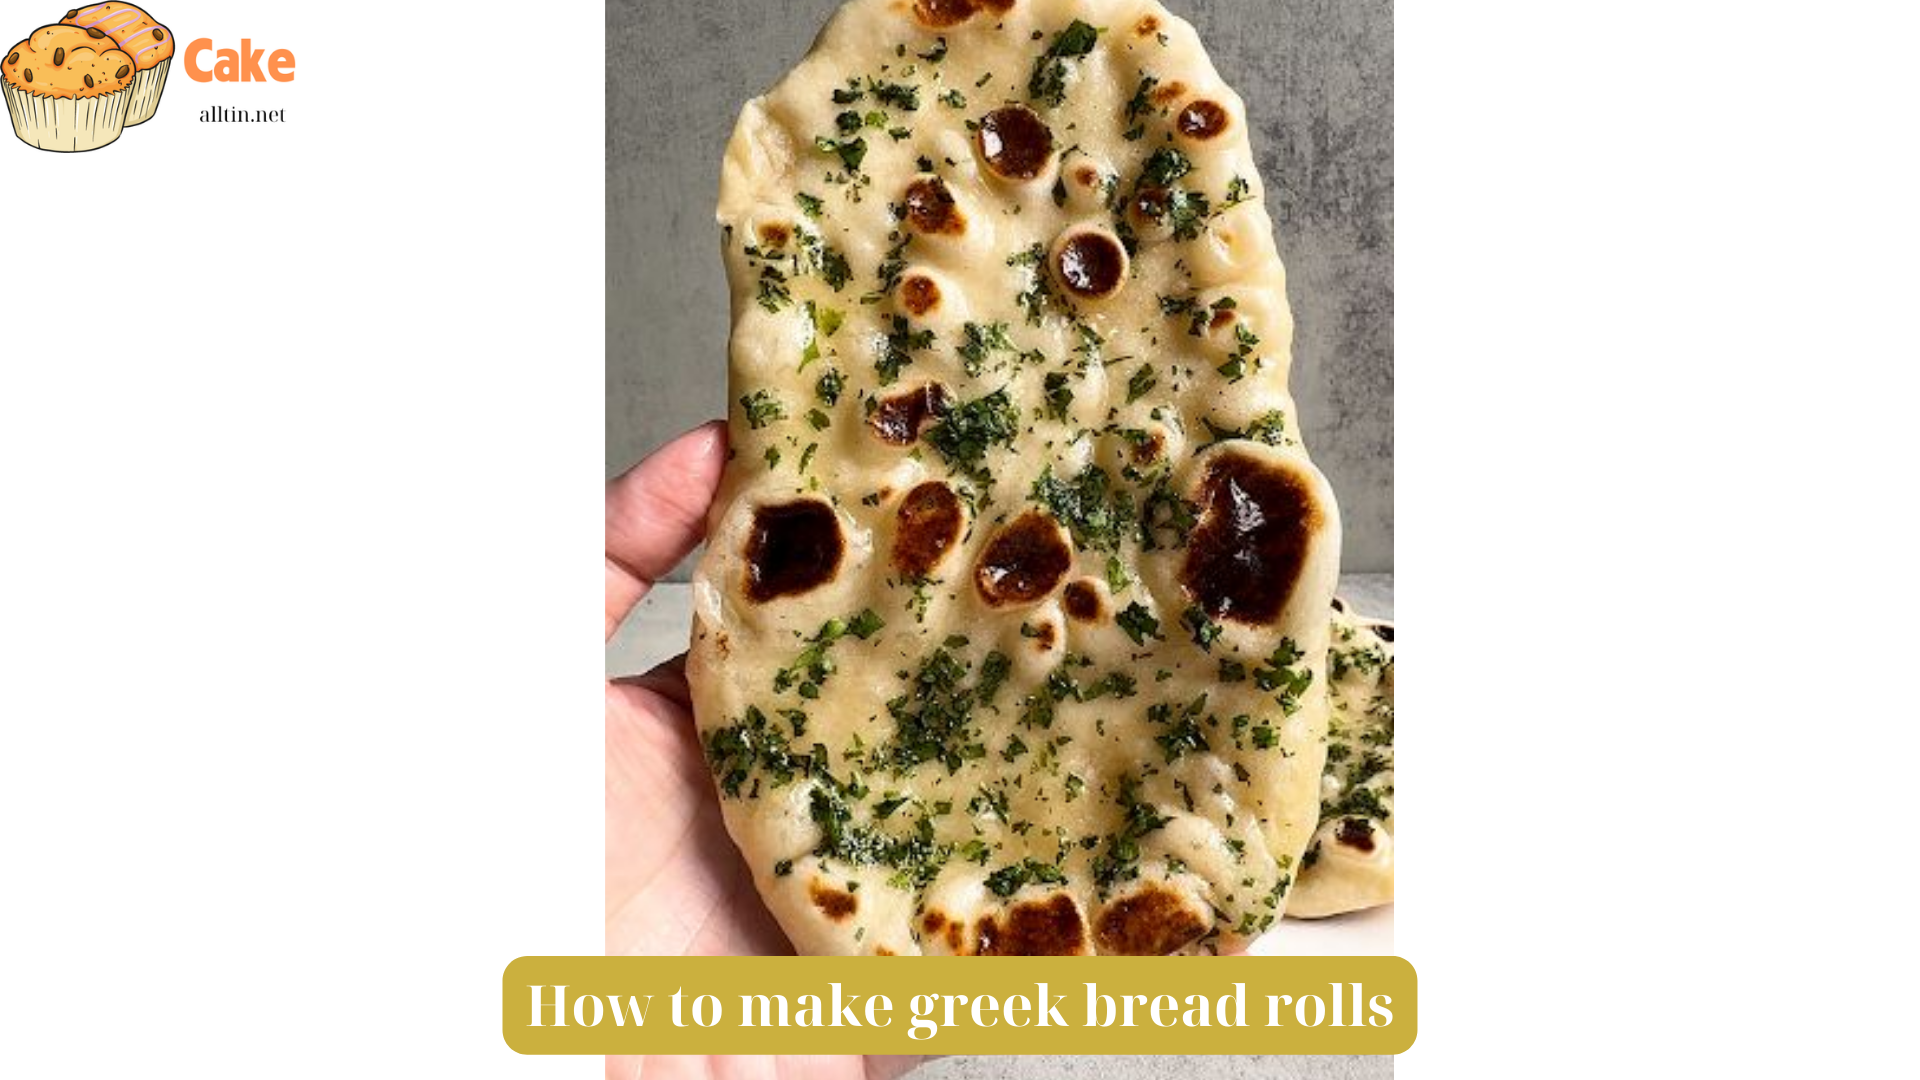
Before placing the rolls in the oven, consider giving them a quick egg wash or a light sprinkle of sesame seeds to add a beautiful sheen and a delightful crunch. This simple step can elevate the visual appeal of your homemade Greek bread rolls, making them truly irresistible.
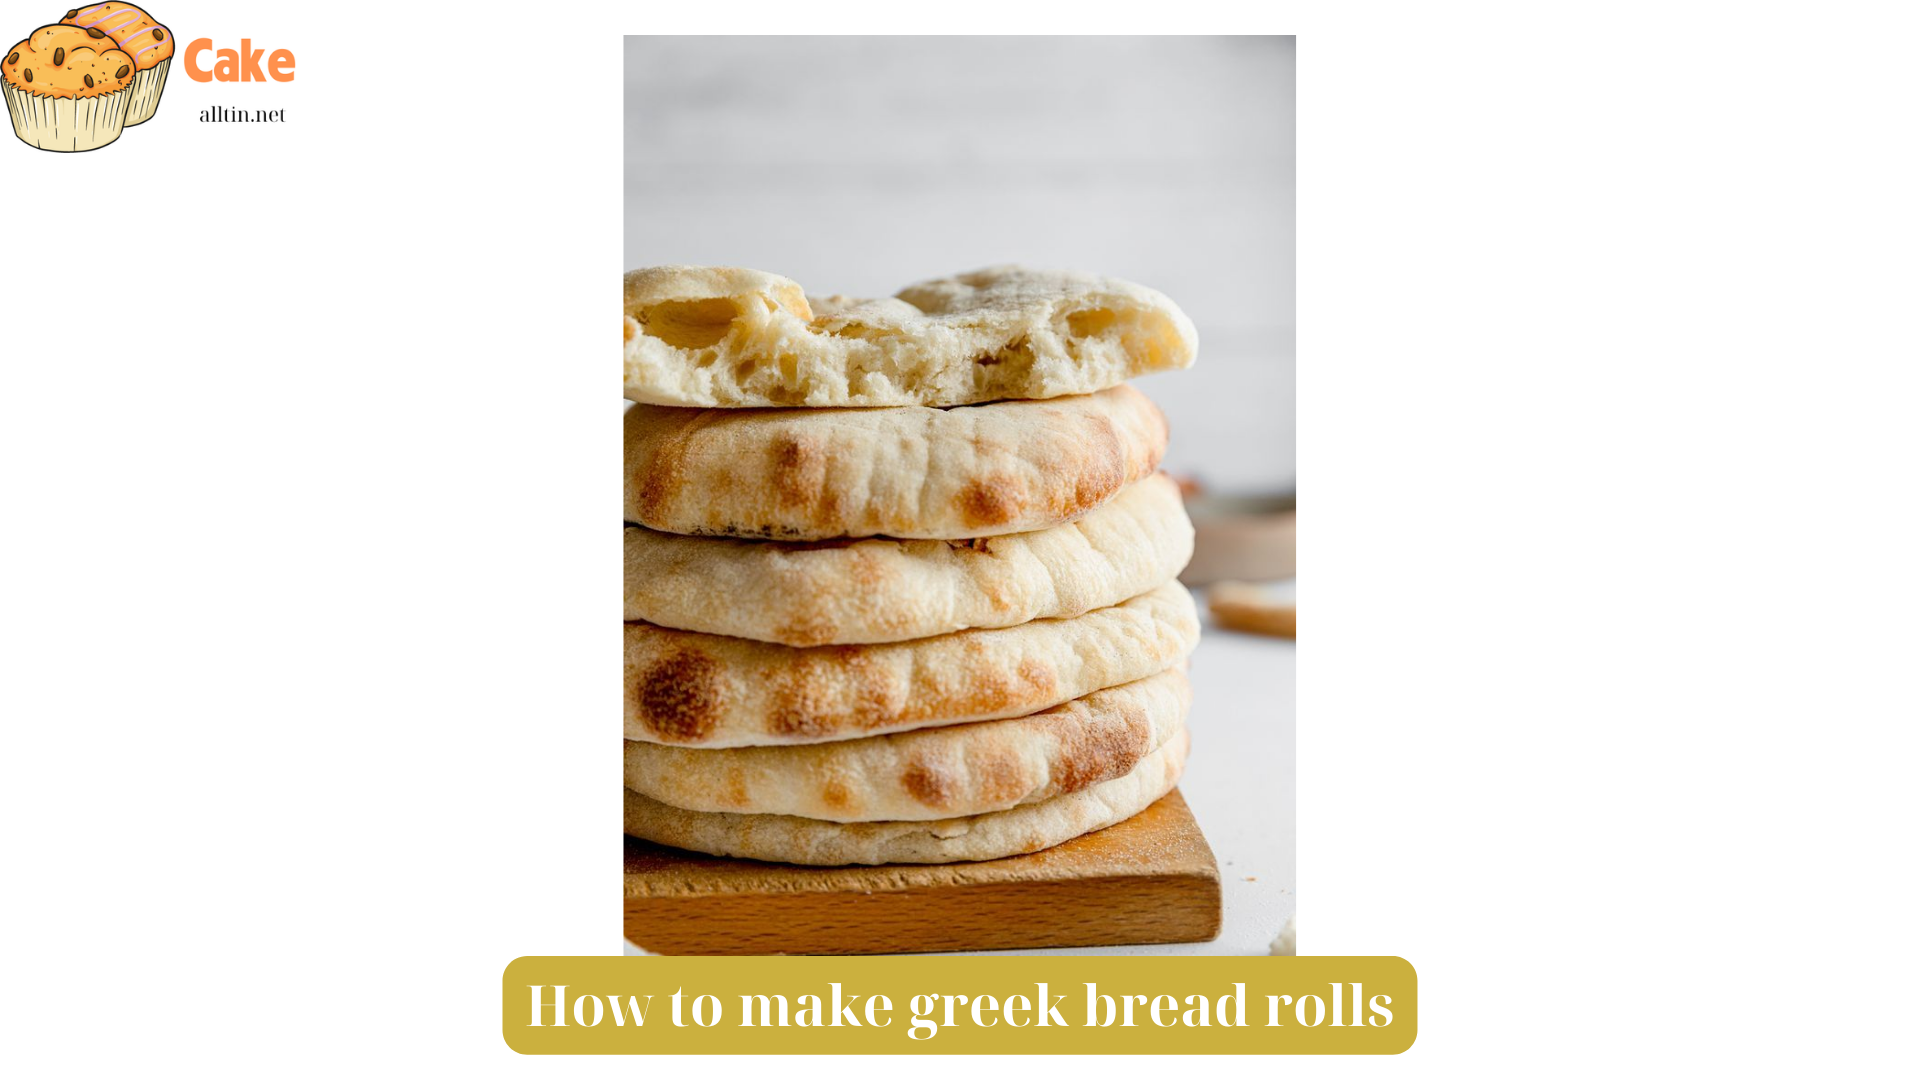
As the rolls bake, keep a close eye on them, as the baking time can vary depending on the size and shape of your rolls. Generally, you’re looking at around 15-20 minutes of baking time, until the crust is a deep, golden brown and the interior has achieved that coveted pillowy softness.
Once the rolls have reached perfection, resist the temptation to dive in immediately. Allow them to cool on a wire rack for at least 10 minutes, as this resting period helps the rolls set and develop their full flavor profile. Trust us, the wait will be worth it.
Serving and Enjoying Your Greek Bread Rolls
Now that your homemade Greek bread rolls have reached their pinnacle of perfection, it’s time to savor the fruits of your labor. These versatile rolls can be enjoyed in a variety of ways, from simple accompaniments to more elaborate culinary creations.
Serve them warm, straight from the oven, with a drizzle of high-quality olive oil and a sprinkle of sea salt for a simple, yet utterly satisfying snack. Alternatively, use them as the foundation for a classic Greek sandwich, layering them with creamy tzatziki, juicy tomatoes, and freshly grilled or roasted meats.
For a heartier meal, tear the rolls into bite-sized pieces and incorporate them into a hearty Greek salad, allowing the crunchy exterior and soft interior to soak up the flavors of the fresh greens, tangy feta, and zesty dressing. The possibilities are endless, limited only by your culinary imagination.
Regardless of how you choose to enjoy your homemade Greek bread rolls, one thing is certain: they will transport you to the sun-drenched shores of the Mediterranean, evoking the warmth and hospitality that are the hallmarks of Greek culture. So, don your apron, preheat your oven, and get ready to embark on a delicious and rewarding journey into the heart of authentic Greek cuisine.