
In the bustling world of culinary delights, few staples are as versatile and beloved as the humble tortilla shell. From tacos and burritos to enchiladas and quesadillas, this ubiquitous flatbread has become an integral part of countless global cuisines. However, the art of crafting the perfect tortilla shell at home is often shrouded in mystery, leaving many home cooks feeling intimidated.
Fear not, aspiring tortilla masters, for we have unlocked the secrets to creating homemade tortilla shells in just five simple steps. In this comprehensive guide, Alltin will walk you through the essential techniques, ingredients, and tools needed to transform your kitchen into a tortilla-making haven, empowering you to elevate your favorite Mexican-inspired dishes with the irresistible flavor and texture of freshly made tortillas.
Table of Contents
ToggleHow to Make Tortilla Shells in 5 Basic Steps
Gather Your Ingredients and Tools
The foundation of a successful tortilla-making endeavor lies in the quality of your ingredients and the right tools for the job. To get started, you’ll need a few basic items:
Flour: The primary ingredient in tortilla shells is all-purpose flour. Look for a high-quality, finely milled flour that will lend the perfect balance of structure and pliability to your tortillas.
Salt: A pinch of salt is essential to enhance the overall flavor of the tortillas, bringing out the richness of the flour and creating a well-rounded taste.
Water: Properly hydrating the dough is crucial for achieving the ideal texture. Use clean, room-temperature water for the best results.
Fat: A small amount of fat, such as vegetable oil or lard, helps to tenderize the dough and prevent it from becoming too dry or crumbly.
Tortilla Press: This specialized tool is the key to creating perfectly round and evenly thick tortillas. Look for a sturdy, cast-iron or wooden press that will allow you to flatten the dough with ease.
Skillet or Griddle: A heavy-duty skillet or griddle is necessary for cooking the tortillas, ensuring even heat distribution and a perfectly cooked surface.
With these essential ingredients and tools in hand, you’re ready to embark on your tortilla-making journey.
Prepare the Tortilla Dough
In a large mixing bowl, combine the all-purpose flour and salt, stirring to incorporate. Slowly add the water and fat, mixing until a shaggy dough forms. It’s important to add the water gradually, as the exact amount needed may vary depending on the humidity and temperature of your kitchen.
Once the dough comes together, turn it out onto a clean, lightly floured surface and knead it for a few minutes until it becomes smooth and elastic. This kneading process helps to develop the gluten, which is crucial for creating a pliable and stretchy tortilla shell.
After kneading, form the dough into a ball, place it back in the mixing bowl, and cover with a damp towel or plastic wrap. Allow the dough to rest for at least 30 minutes, as this resting period gives the gluten a chance to relax, making the dough easier to work with.
Divide and Roll
With the rested dough in hand, it’s time to divide and shape the individual tortillas. Begin by pinching off a golf-ball-sized piece of dough and rolling it into a smooth ball between your palms.
Place the dough ball between two sheets of parchment paper or plastic wrap, and use the tortilla press to flatten it into a thin, round disc. Gently peel away the top layer of parchment or plastic, flip the tortilla over, and peel away the remaining layer, leaving you with a perfectly shaped tortilla shell.
Repeat this process with the remaining dough, ensuring that each tortilla is evenly thin and circular in shape. As you work, you can stack the prepared tortillas, separating them with parchment or plastic to prevent them from sticking together.
Cook the Tortillas
With your tortilla shells ready, it’s time to bring them to life on the stovetop. Heat a heavy-duty skillet or griddle over medium-high heat, ensuring that the surface is evenly hot before you begin cooking.
Carefully transfer one of the prepared tortilla shells to the hot surface, and let it cook for approximately 30 seconds to 1 minute, or until you see small bubbles start to form on the surface. Flip the tortilla and cook for an additional 30 seconds to 1 minute on the other side, or until lightly golden and puffed.
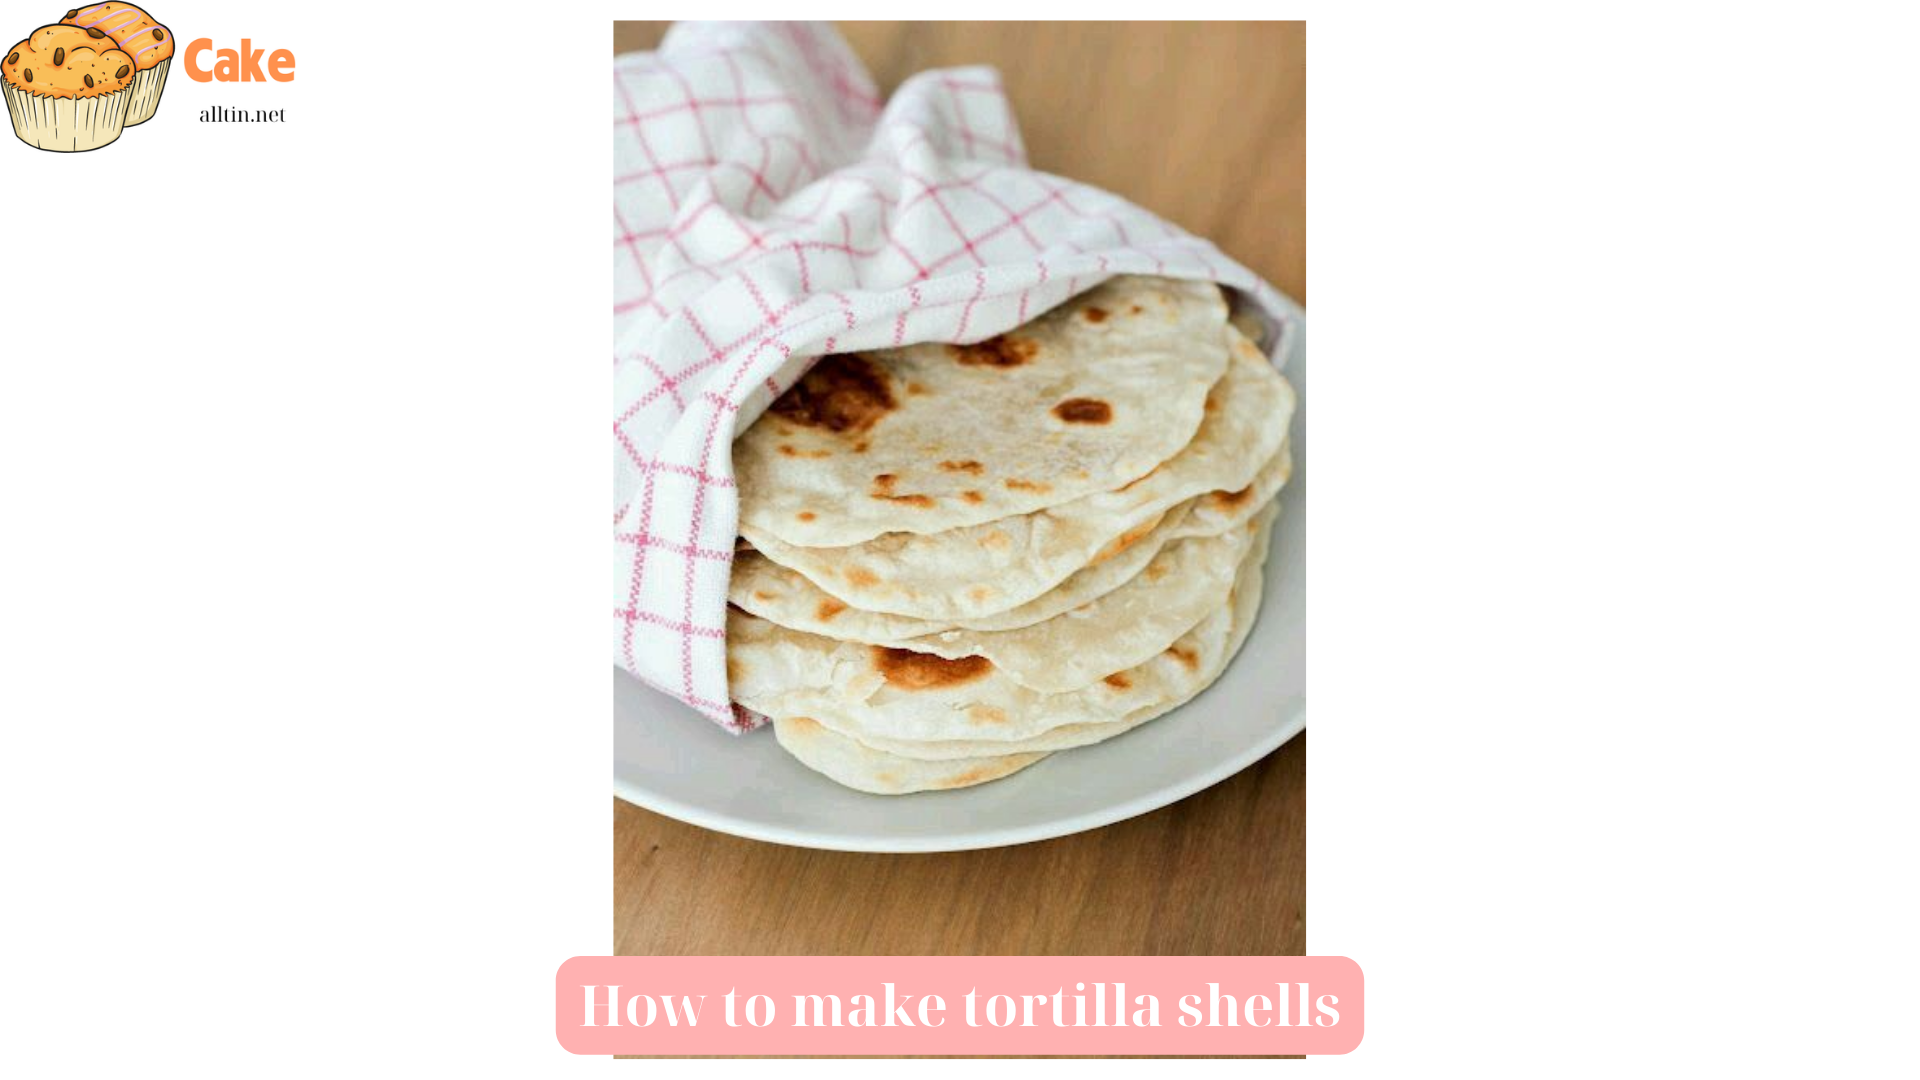
As each tortilla cooks, transfer it to a clean kitchen towel or baking sheet, where you can stack them to keep them warm and pliable. It’s important to work quickly, cooking the tortillas one at a time, to maintain the optimal temperature and ensure even cooking.
Perfect the Puffing Technique
One of the hallmarks of a well-made tortilla shell is its ability to puff up during the cooking process, creating those irresistible air pockets that add both visual appeal and a delightful textural contrast.
To master the art of tortilla puffing, pay close attention to the heat of your cooking surface. The key is to maintain a consistent, high temperature that will cause the moisture in the dough to rapidly turn to steam, forcing the tortilla to inflate.
As you flip the tortilla, gently press down on the center with the back of a spatula or tongs. This gentle pressure helps to encourage the tortilla to puff up, creating those signature bubbles that will delight your taste buds.
If you find that your tortillas aren’t puffing as much as you’d like, try increasing the heat slightly or flipping them a bit more quickly. With a little practice, you’ll be able to achieve the perfect, pillow-soft texture every time.
Store and Serve Your Homemade Tortillas
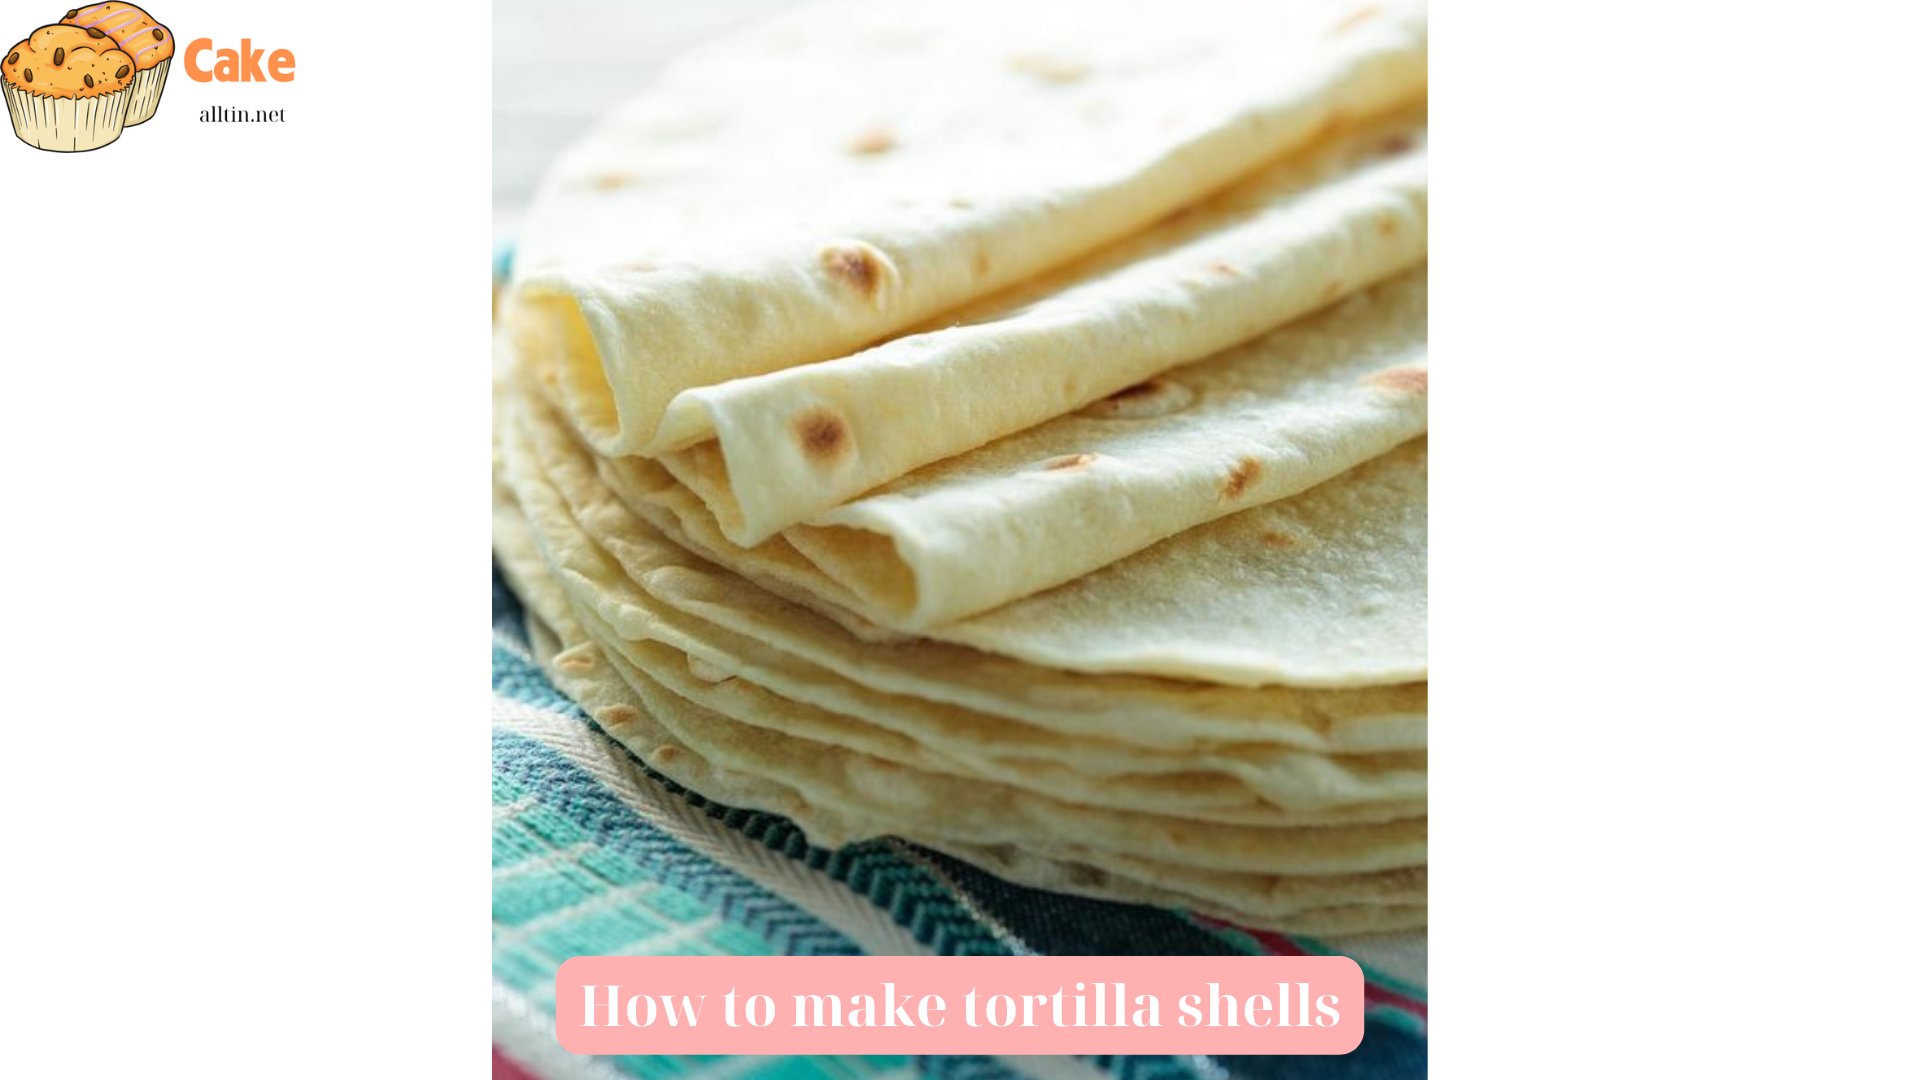
With your freshly made tortilla shells ready to go, it’s time to consider storage and serving options. Freshly cooked tortillas can be kept warm and pliable by stacking them between clean kitchen towels or placing them in a tortilla warmer or oven set to the lowest temperature.
If you have any leftover tortillas, you can store them in an airtight container or resealable plastic bag in the refrigerator for up to 5 days. When you’re ready to use them, simply warm them up in a skillet or on a griddle for a few seconds per side, or wrap them in a damp paper towel and microwave them for 10-15 seconds.
The possibilities for serving your homemade tortilla shells are endless. From classic tacos and burritos to more adventurous dishes like quesadillas, enchiladas, and even breakfast tostadas, these versatile flatbreads are the foundation for countless culinary creations.
Embrace the Beauty of Homemade
Crafting your own tortilla shells from scratch may seem like a daunting task, but with this comprehensive guide, you now possess the knowledge and skills to transform your kitchen into a tortilla-making haven. Embrace the beauty of homemade and elevate your favorite Mexican-inspired dishes with the irresistible flavor and texture of these freshly made flatbreads.
As you embark on your tortilla-making journey, remember that the true joy lies in the process. Enjoy the satisfying feeling of kneading the dough, the thrill of watching the tortillas puff up on the griddle, and the pride that comes with serving a homemade creation to your loved ones.
Whether you’re a seasoned home cook or a newcomer to the world of Mexican cuisine, mastering the art of homemade tortilla shells will open up a world of culinary possibilities. So, gather your ingredients, fire up the griddle, and get ready to impress with the unparalleled taste and quality of your very own tortilla creations.